I have been a big fan of Frida Kahlo for a long time. I love her story, her sass, her perseverance, and her nonconformity! This year seemed to be my year for Frida, because not only is my latest book Frida Kahlo: Una biografía (a novice-level biography written in Spanish), but also we are very fortunate that the Diego Rivera and Frida Kahlo in Detroit exhibit is currently at the Detroit Institute of Arts through July!
My students have read my new book and visited the DIA exhibit, and it was time for us to get serious about discussing art!
The first point I wanted to discuss was the SELFIE. I created a little survey about selfies for my students to complete (available now as part of the Frida Kahlo Teacher’s Resource Guide) to find out their tendencies and opinions on the topic. Second, I had students get into groups and do a “chalk talk” on big paper with markers about what a person should consider when trying to take a great selfie (una selfie) Then, we watched a youtube video about “5 bright tips para tomar la selfie perfecta.” I had my students add to their previous brainstorming so that it included new information from the video. We then discussed the tips. The funniest one was “el fondo” (the background). One student said if their is a mirror in the background make sure you have pants on! Great tip, right?
Following this, we talked about self-portraits, the selfie being one form of autorretrato. We looked at 3-4 paintings by Frida Kahlo and discussed her colors, clothes, facial expressions, objects shown in the painting, backgrounds, and what time period the painting might have come from in her life. I then allowed the students some time in small groups to discuss several additional paintings using the same ideas.
THE FUN PART
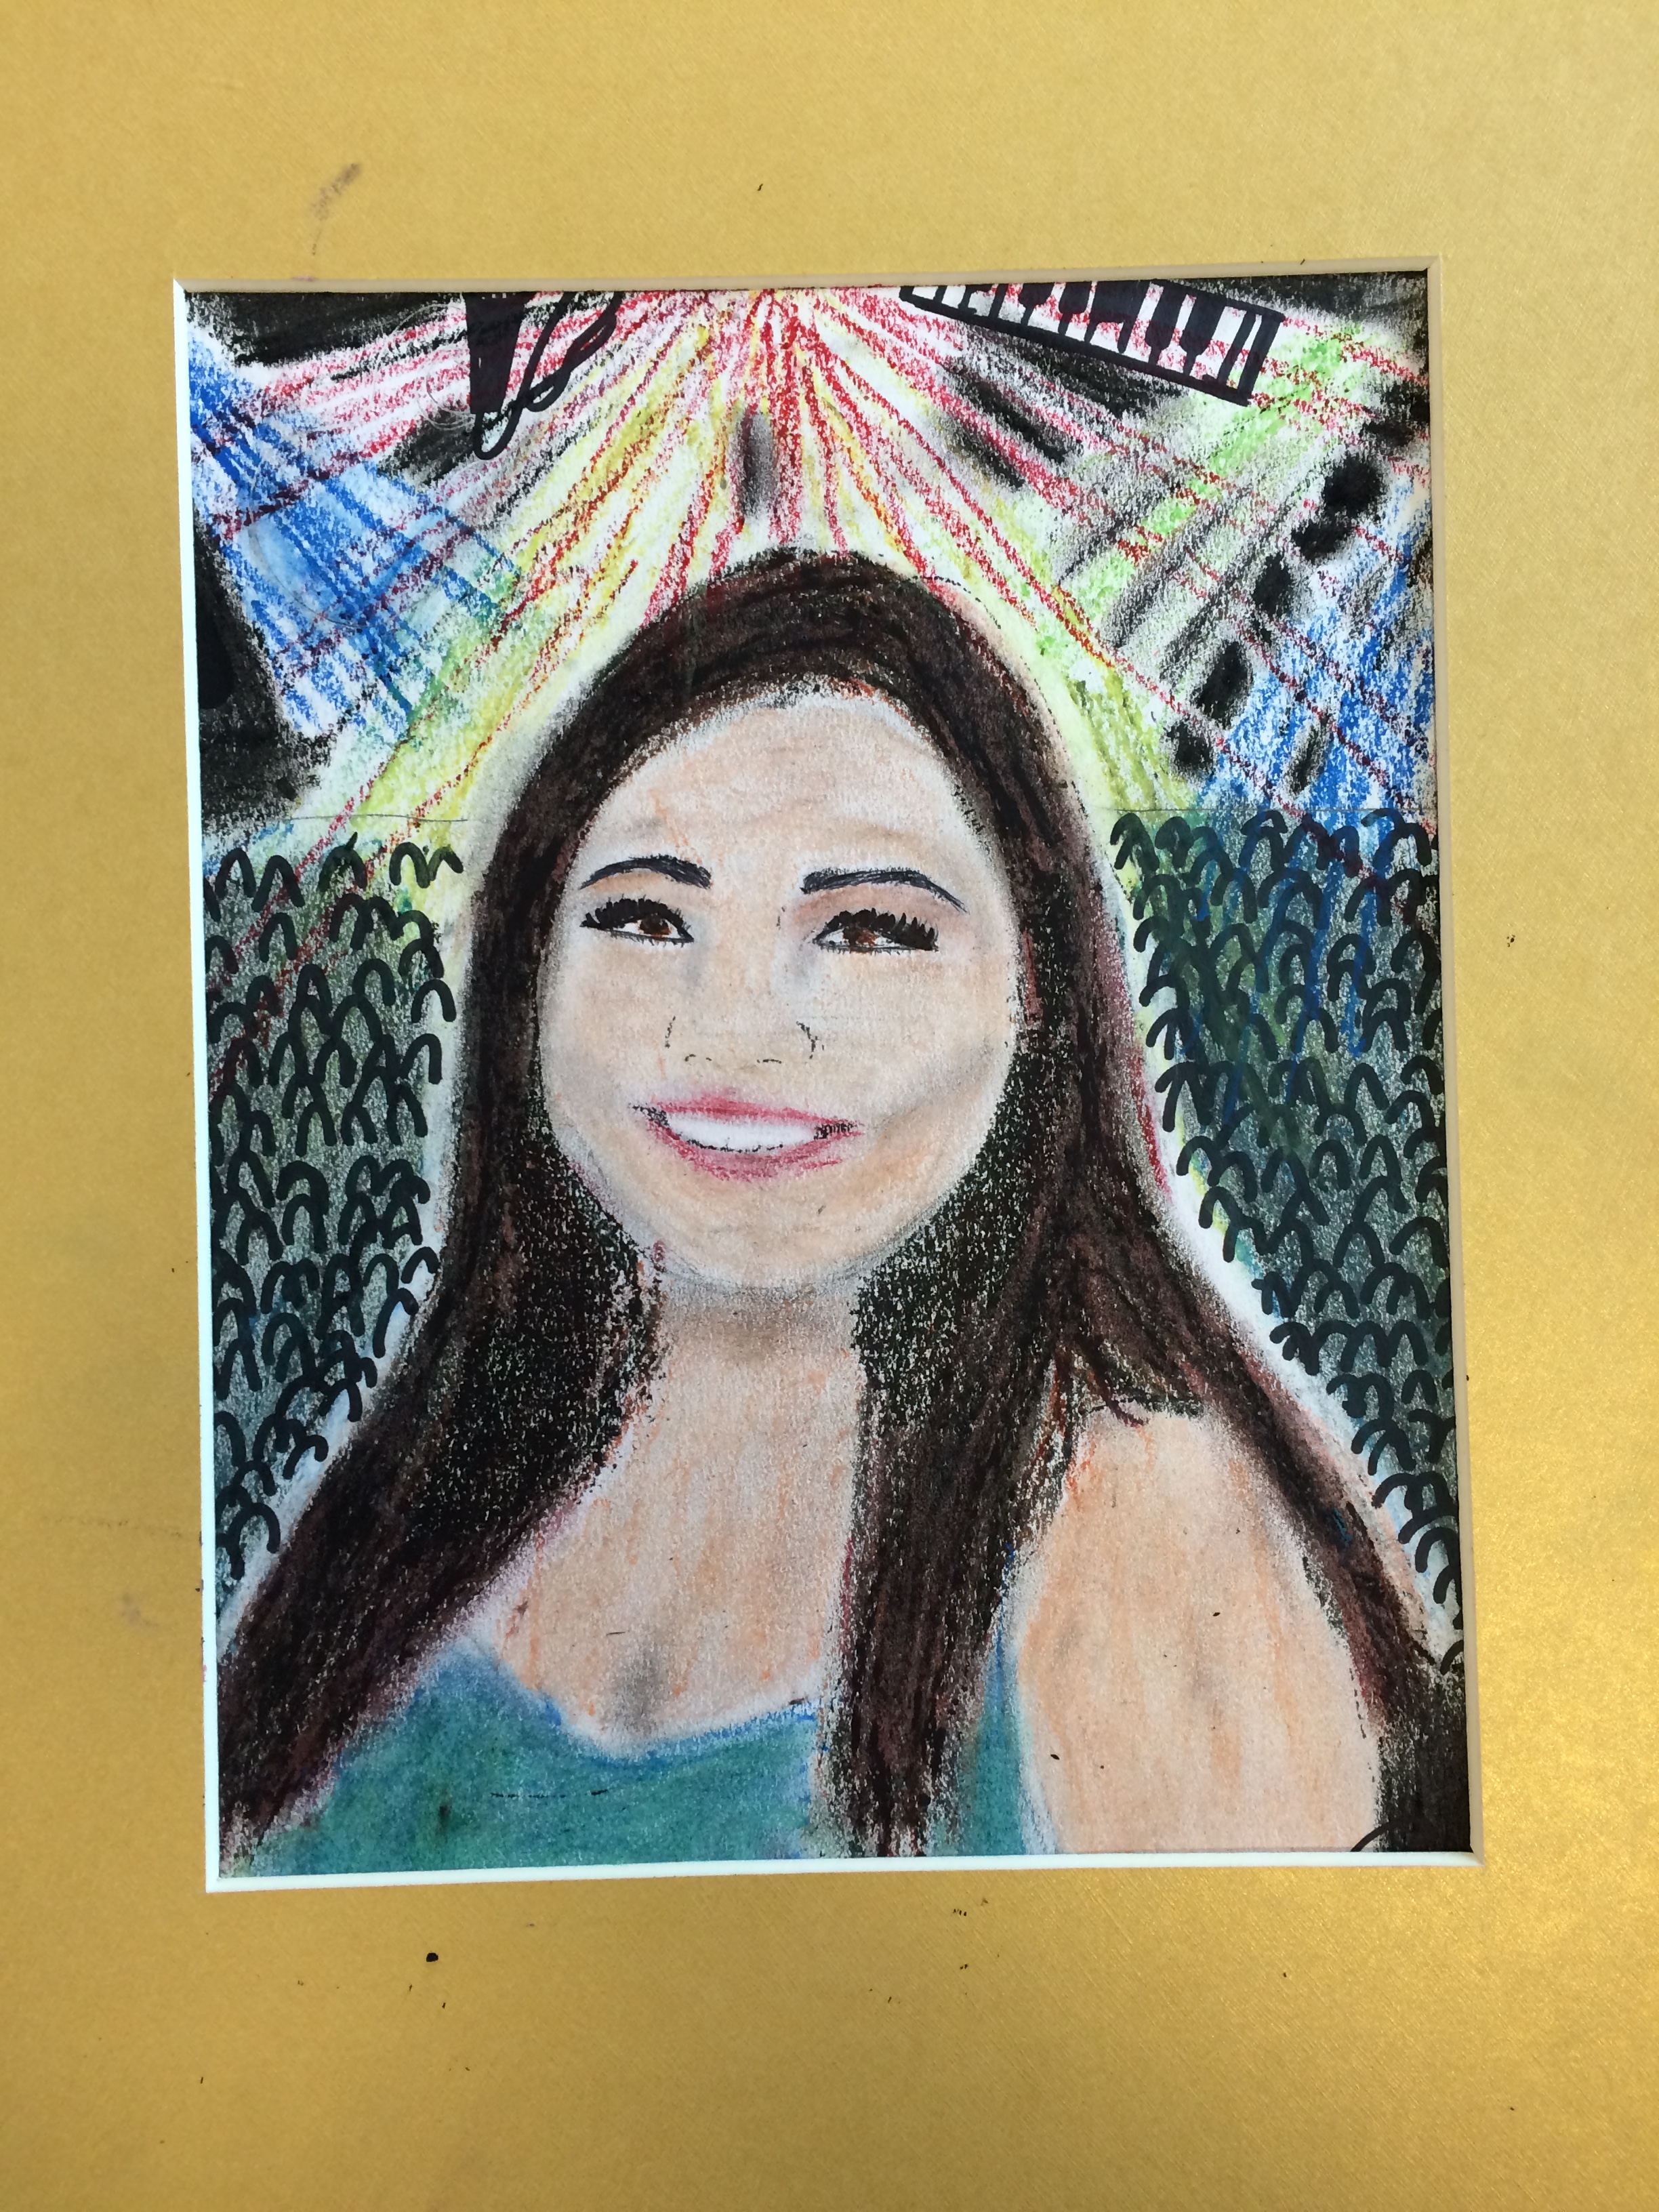
We created our own self-portraits!
About a week ahead of time, I took photos of each kid using my iphone. I told them they could make any face or pose they wanted. After I took all the photos, I uploaded them into my google drive through my phone.
Next, I opened powerpoint on my laptop. I went to INSERT –> PHOTO ALBUM and selected the photos I wanted.
Then, I clicked the photo. Under the “corrections” menu, I sharpened 50%. Then under “color” menu I made it black and white. Back to the corrections menu I then adjusted Brightness +40%, Contrast -40%. This is TIME CONSUMING but I got a good system going and it went smoothly.
You start with  and end up with
 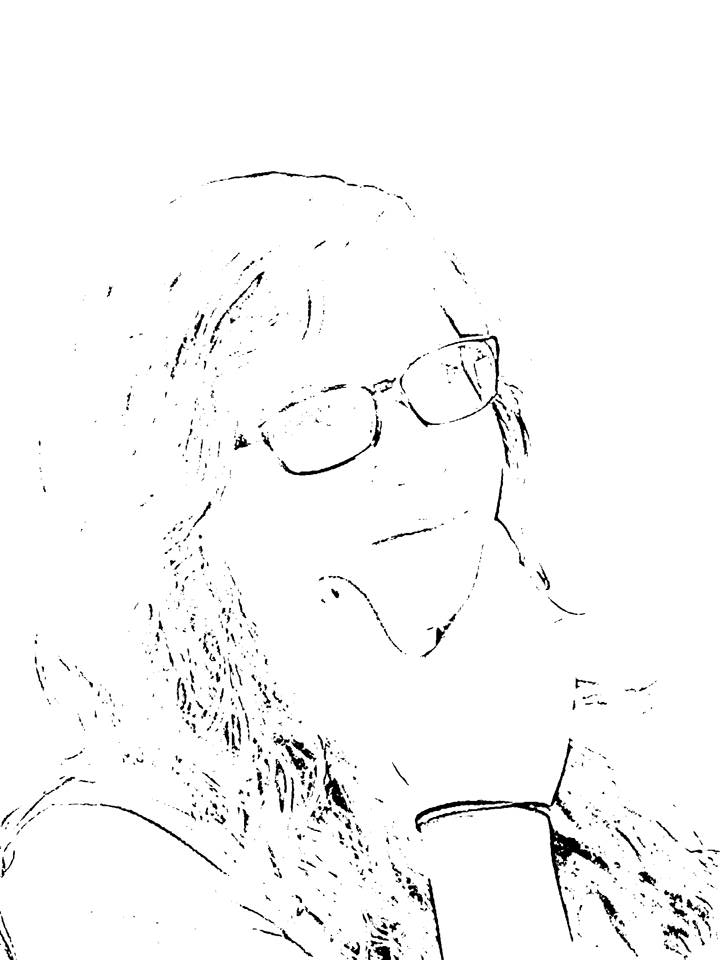 .
.
I had purchased some nice paper with a bit of texture. Kind of a “toothy” cardstock. My art teacher gave me advice on this. I printed all of the images using the copy machine onto the nice paper.
Then, I gave the students a day of art time. I purchased a nice set of oil pastels, and also provided mirrors, colored pencils, rulers, markers, tissue paper, scissors, etc.
Requirements:
1. Paper must be covered completely with color
2. Must have a background
3. Must depict 3-5 objects that represent you in some way.


Tomorrow we will have an “art gallery” speaking assessment. I will post again about that!
Check out my pinterest board of all things Frida!


Leave a comment