If your students are like mine (normal American teens), they are probably a little antsy right now. We are halfway through the semester, a week away from Thanksgiving, they are still hyped up on Halloween sugar, and apparently the honeymoon phase is LONG GONE. Add to the mix I am heading to ACTFL later this week and my favorite and most reliable sub is not available due to a long-term gig.
What’s a comprehensible-input aficionada to do? I can’t just stop giving them input because they can’t shut up right now or because I need to be gone for two days. There has to be a way.
This year, I have tried out a whole bunch of cool online technology resources. I am enjoying all of them, and having students do activities on their Chromebooks a couple of days per week has really freed me up to drink some tea and relax while I dream up new and cool ways to provide input. The key for making these resources work for me and my students is finding ways to make them input-rich. I’ve stumbled upon an idea this year that is really making me happy, and I hope you will like it too.
First, I start with PowerPoint (Google Slides is also great). I create a slideshow of something we are currently working on. It could be a story we made up together as a class, a story about a current event, a description of a short film, or a description of a chapter we are reading in a novel.
If it is a film short, music video, or feature movie, I simply take screen shots on my computer and import them into my slideshow.
If it is a current event, I find photos online to add to my slideshow.
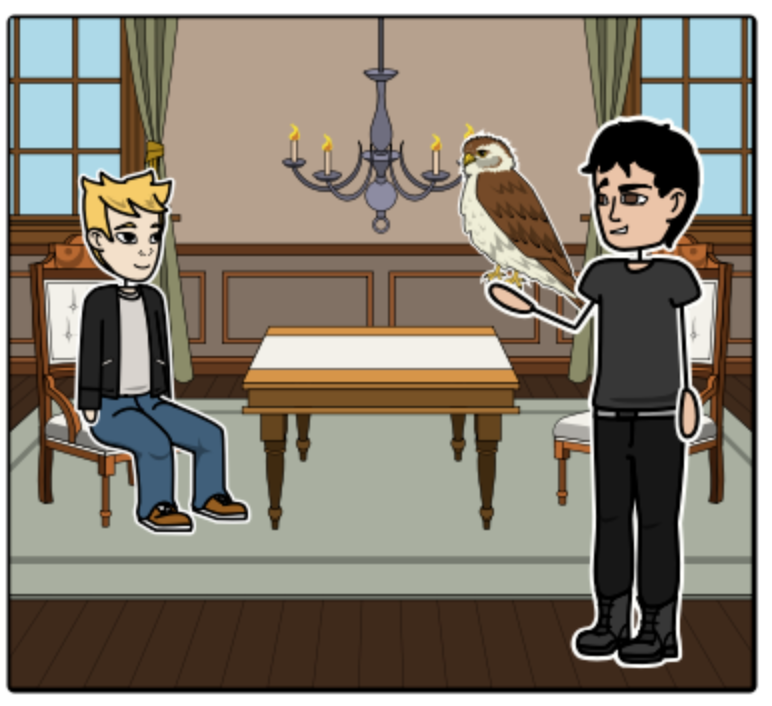
If it is a story we invented or a novel, my next go-to is a wonderful online resource called StoryBoardThat.com. With a free account, you can create 2 storyboards per month. (With a paid account, you can assign your students to create storyboards which is also really cool, but we can talk about that another time.) For my purposes, 2 per month is just fine. With this resource, I created characters from the novel Noches misteriosas en Granada. I create scenes for them, and then I screen shot each scene and put it into my slideshow. I originally started using StoryboardThat last year and I was having my students create the storyboards. Why couldn’t you recruit some students to make them for you all the time? Once I have screen-shotted a scene, I just keep using the same little characters over and over and creating new scenes on the same storyboard. That way, I never need more than my allotted two per month.
I can add additional details to my scene right in PowerPoint. For example, I found an image of paella for the table, pictures of rabbits, edited them in PowerPoint (PowerPoint allows you to “remove background” on an imported image which is great for this!), added the thought bubble, etc.

The next thing I do is make my whole slideshow into a video. I use the Google add-on Screencastify. I start up Screencastify, set it to record my desktop, and then I simply show the slideshow in full screen as a presentation and I talk about it. Screencastify records anything I show on my screen and the microphone in my laptop picks up my voice.
I don’t READ the novel as I record (you also need to be careful here that you are respecting copyright. This may be considered creating a derivative work, and could be copyright infringement, especially if it is something others could freely view online. If you are unsure, send an e-mail to the publisher!). I am discussing the novel just as I would review over it with the students verbally the following day after reading a chapter. For some texts, I add the text to the slide. Your call. Sometimes I like them just to listen, and other times I like them to also see the words.
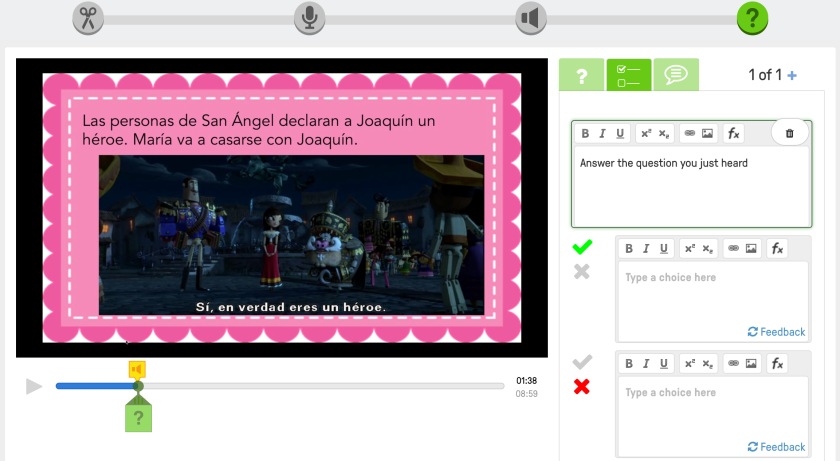
Finally, I download my Screencastify video and upload that to EdPuzzle (also free!). I edit the video in EdPuzzle, using the scissors tool to crop away anything I don’t want at the beginning or end.
I use the audio notes tool to insert a verbal question that I record myself.

El Libro de la Vida original slideshow by Arianne Dowd is available here.
My modified version of Libro de la Vida slideshow for novices:
Parte 1:
PDF: El libro de vida part 1
PPT: El libro de vida part 1
Parte2:
PDF: El libro de vida part 2
PPT: El libro de vida part 2
Parte 3:
PowerPoint: El libro de vida part 3
Immediately after I record the verbal question, I hit the “Quizzes” tool (looks like a green circle with a question mark). I type “Answer the question you just heard.” Then, I can add 2 or more possible answers for students to select from. You can even add photos to your answers!

Here are two examples of EdPuzzles I have made using some of these techniques:
I have been using EdPuzzle quite a bit this year in place of other types of quizzes. EdPuzzle grades my students for me, and even tells me if they watched the entire video or not. I highly recommend you experiment with some of these tools, especially if you will be absent or if you are simply looking for a different and new way of presenting, reviewing, or assessing!

It totally depends on how long the original slideshow is and how detailed you make it. I tend to devote the most time to things I know I will use again the next year!
These are excellent ideas! Thank you. This is a major struggle for me: what to do on sub days when you still want to give your students input. I will definitely try your ideas. Question: approximate time to storyboard/slide show/EdPuzzle create?